Skip to Content

Easter Flower Pot

I was so excited to share this post during the Trading Blogs blog swap that I did with Sarah from Adventures of Our Fami-Ly.  Now, I wanted to share it with you if you didn’t get a chance to come visit me over at Sarah’s blog. Did you enjoy her cute no-sew pillow tutorial?
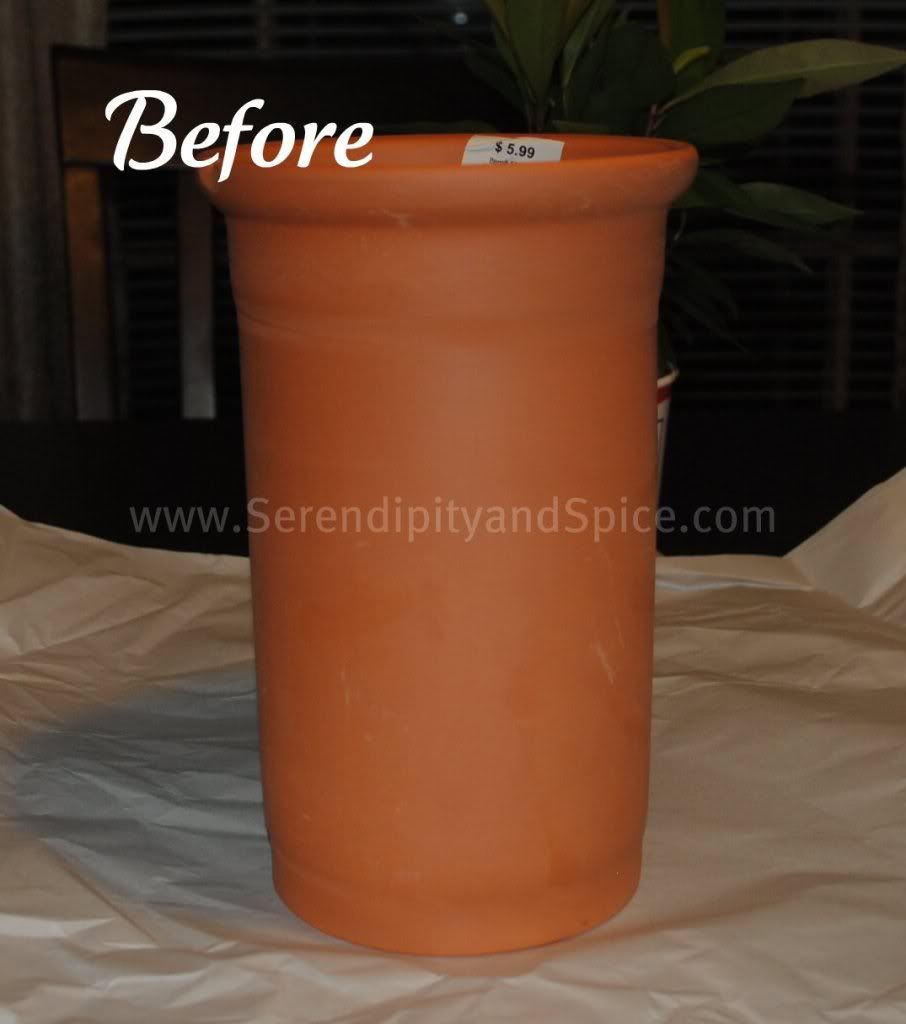
EasterFlowerPot Easter Flower Pot When I was wondering around Hobby Lobby the other day I came across a scratch and dent section that had me in Crafter's Heaven!  One of my finds was this flower pot that was marked down to $1.

When I was wondering around Hobby Lobby the other day I came across a scratch and dent section that had me in Crafter’s Heaven!  One of my finds was this flower pot that was marked down to $1.

EasterFlowerPotBefore Easter Flower Pot When I was wondering around Hobby Lobby the other day I came across a scratch and dent section that had me in Crafter's Heaven!  One of my finds was this flower pot that was marked down to $1.
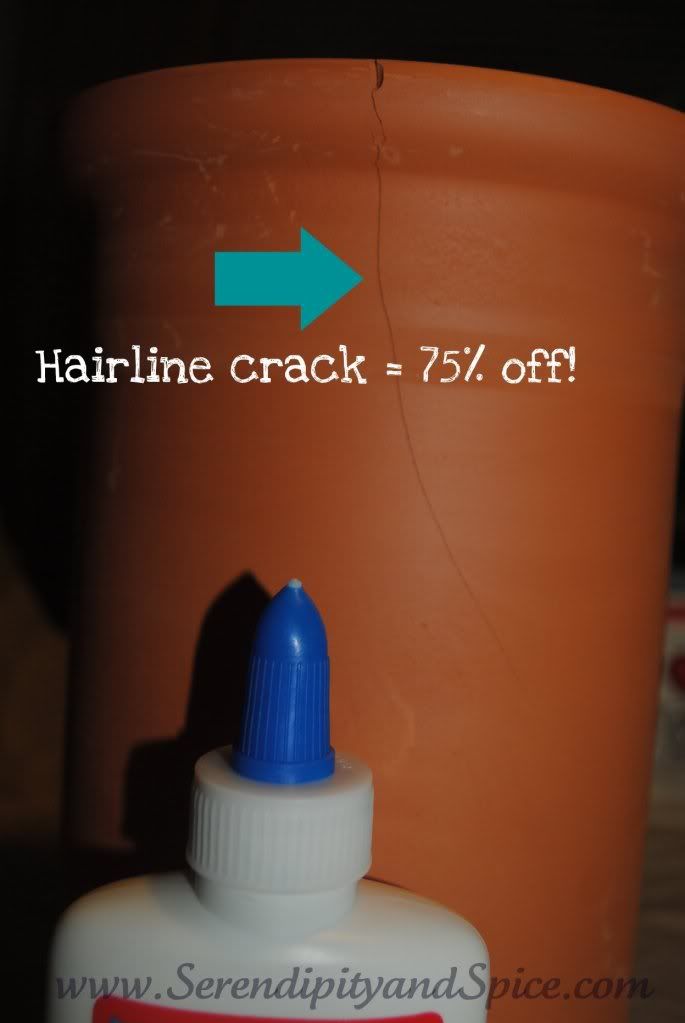
Why was it marked all the way down to $1?
Oh, because of a little crack:
EasterFlowerPot2 Easter Flower Pot When I was wondering around Hobby Lobby the other day I came across a scratch and dent section that had me in Crafter's Heaven!  One of my finds was this flower pot that was marked down to $1.
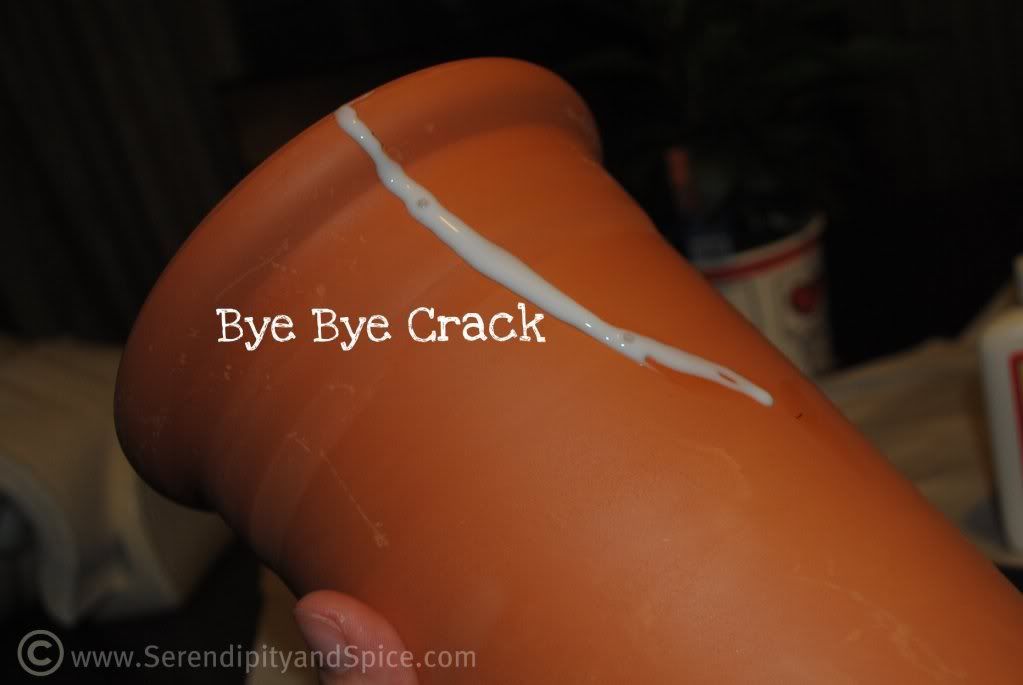
Did you know that painting a little white school glue on both sides will seal the crack? Or you can melt some candle wax and paste it inside.
EasterFlowerPot3 Easter Flower Pot When I was wondering around Hobby Lobby the other day I came across a scratch and dent section that had me in Crafter's Heaven!  One of my finds was this flower pot that was marked down to $1.
How awesome is that?!
Now, you want to make sure that you use a paint brush and brush down the glue so it doesn’t cause a bubble on your pot.
EasterFlowerPot8 Easter Flower Pot When I was wondering around Hobby Lobby the other day I came across a scratch and dent section that had me in Crafter's Heaven!  One of my finds was this flower pot that was marked down to $1.
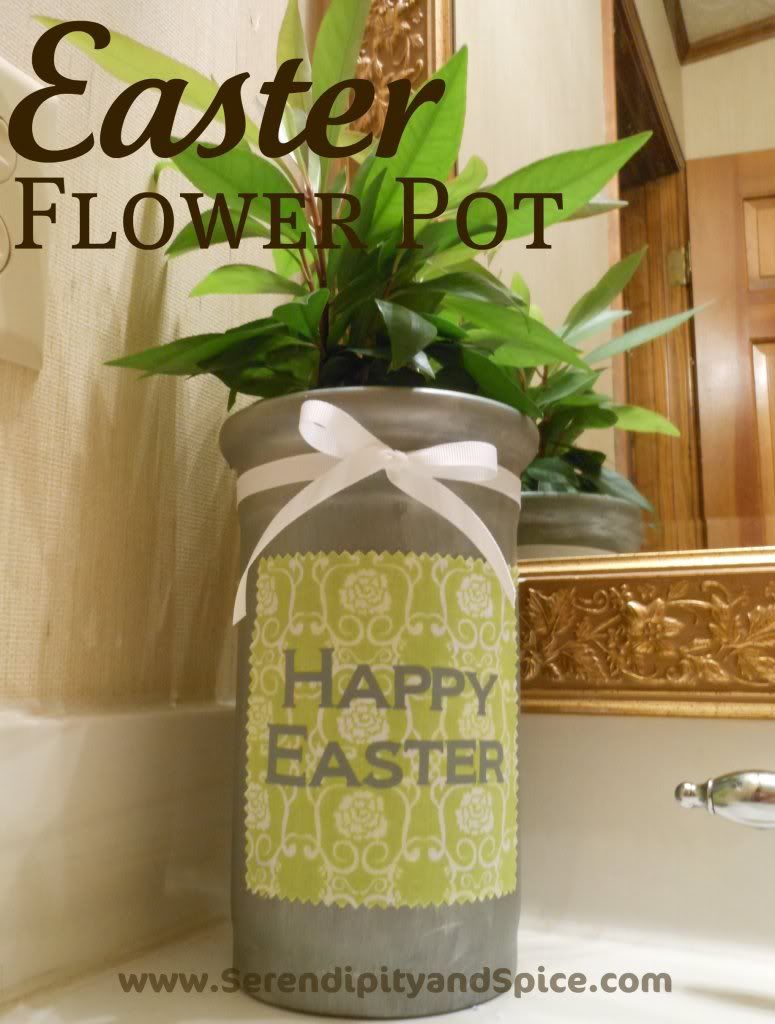
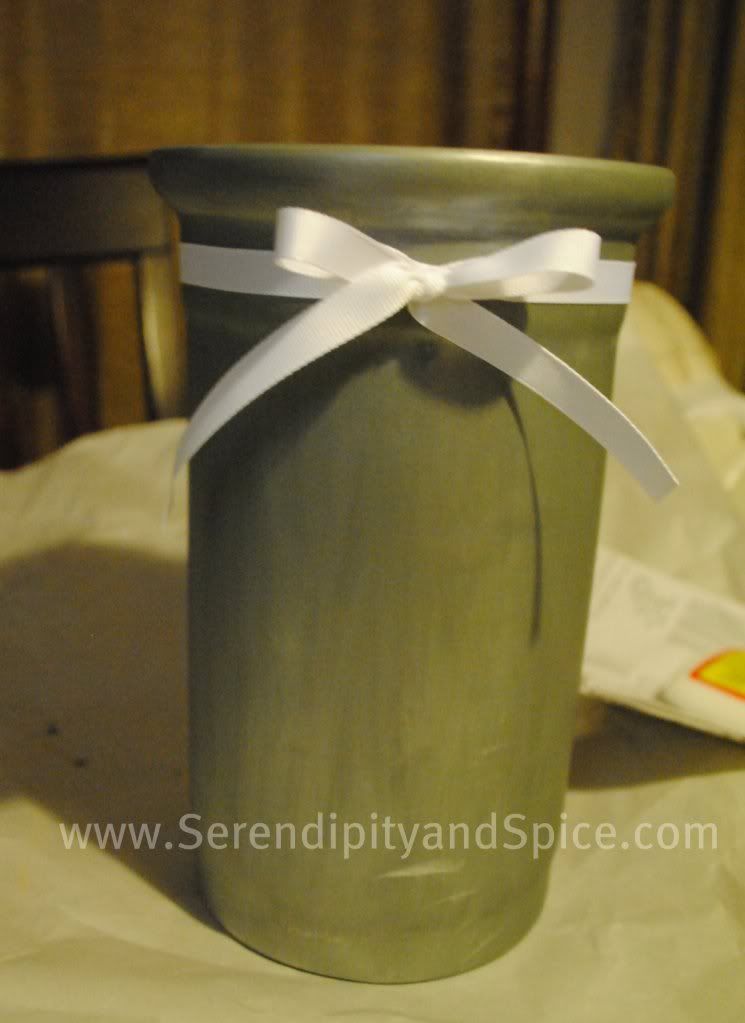
Once the glue dried I painted the pot grey.  Then I decided it was a little dull so I went over it with a Pearl White acrylic paint (both the grey and the pearl were .89 each at HL).  In a surprising twist the Pearl White made the pot look like brushed steel…. pretty cool!
EasterFlowerPotPainted Easter Flower Pot When I was wondering around Hobby Lobby the other day I came across a scratch and dent section that had me in Crafter's Heaven!  One of my finds was this flower pot that was marked down to $1.
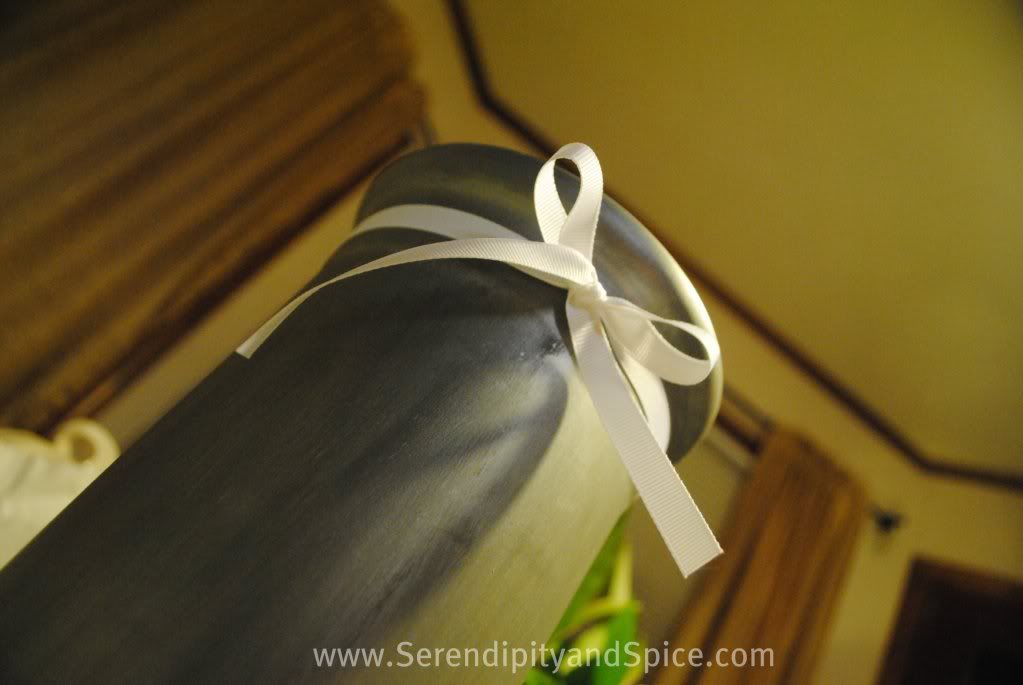
I added a little ribbon but decided it needed something more.
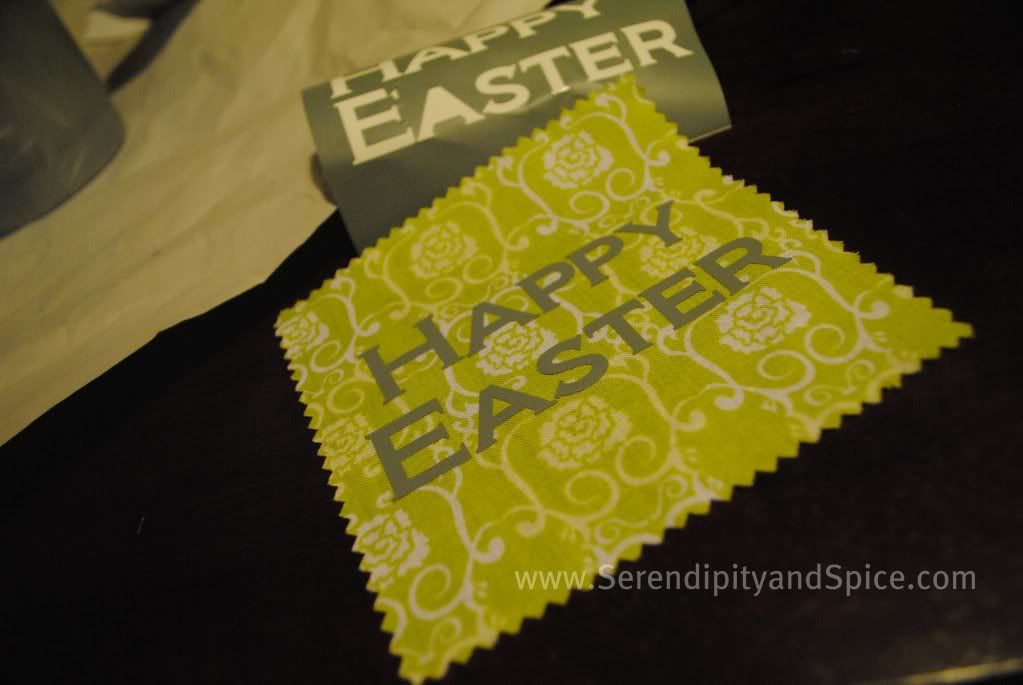
So, I used my Silhouette Cameo to cut out some grey vinyl (which matched the pot exactly…. yeah me!) and cut out “Happy Easter” and attached the letters to a swatch of fabric.
EasterFlowerPotVinyl Easter Flower Pot When I was wondering around Hobby Lobby the other day I came across a scratch and dent section that had me in Crafter's Heaven!  One of my finds was this flower pot that was marked down to $1.
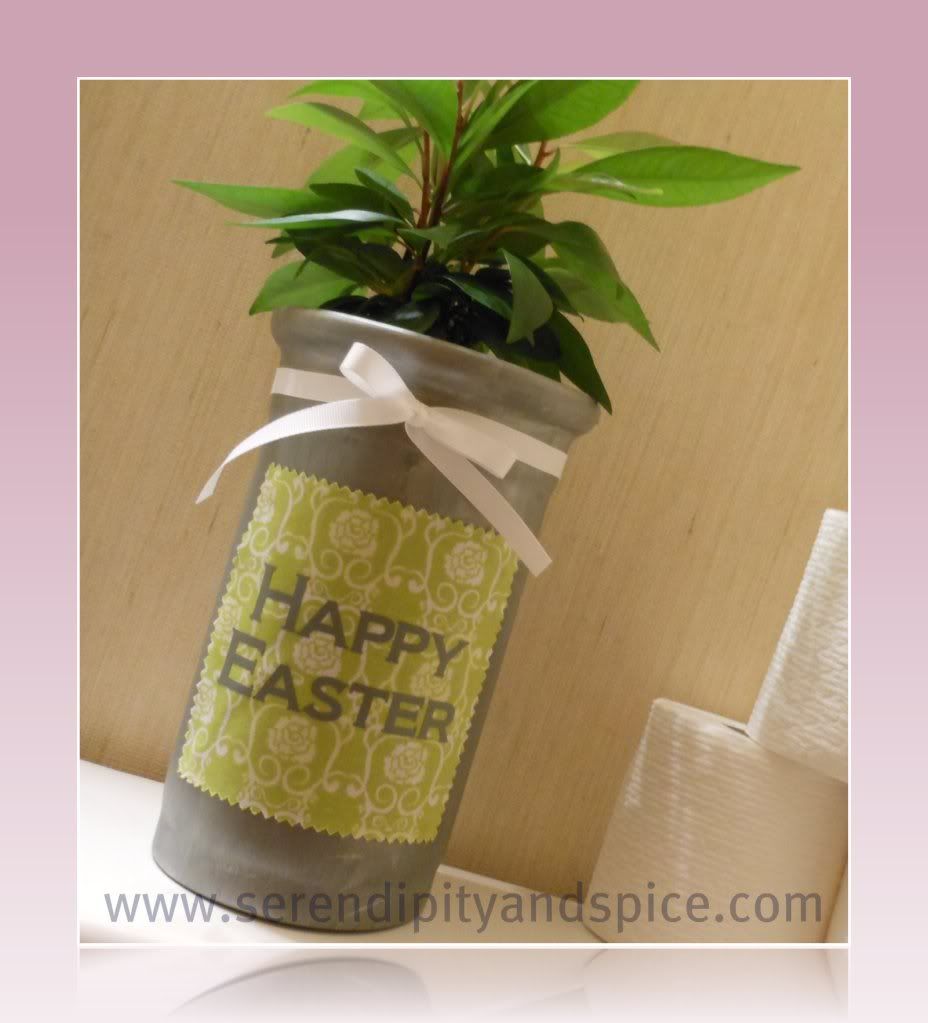
Finally, I used the hot glue gun to attach the swatch of fabric to the pot.
Note: I did four little dots of glue (one in each corner of the fabric) so that I can easily pull the fabric off and change it out for another season.
EasterPlanter Easter Flower Pot When I was wondering around Hobby Lobby the other day I came across a scratch and dent section that had me in Crafter's Heaven!  One of my finds was this flower pot that was marked down to $1.
Ta Da!
Pin It

Now I have a beautiful greenery pot to spruce up the bathroom!

If you enjoyed this tutorial I would love it if you subscribe via Facebook, Twitter, RSS feed, or by email.
4DF62AAED0CDE99DF4782D256745516C Easter Flower Pot When I was wondering around Hobby Lobby the other day I came across a scratch and dent section that had me in Crafter's Heaven!  One of my finds was this flower pot that was marked down to $1.

This site uses Akismet to reduce spam. Learn how your comment data is processed.

This site uses Akismet to reduce spam. Learn how your comment data is processed.