
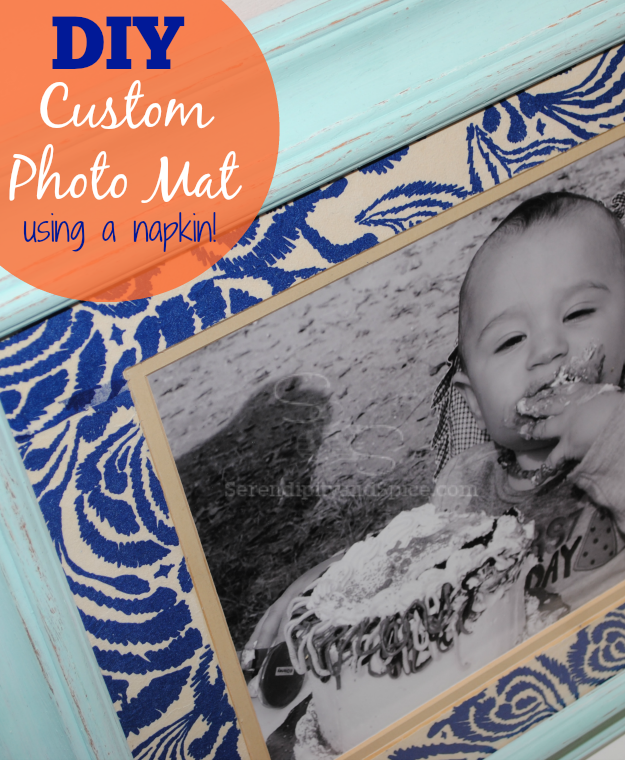
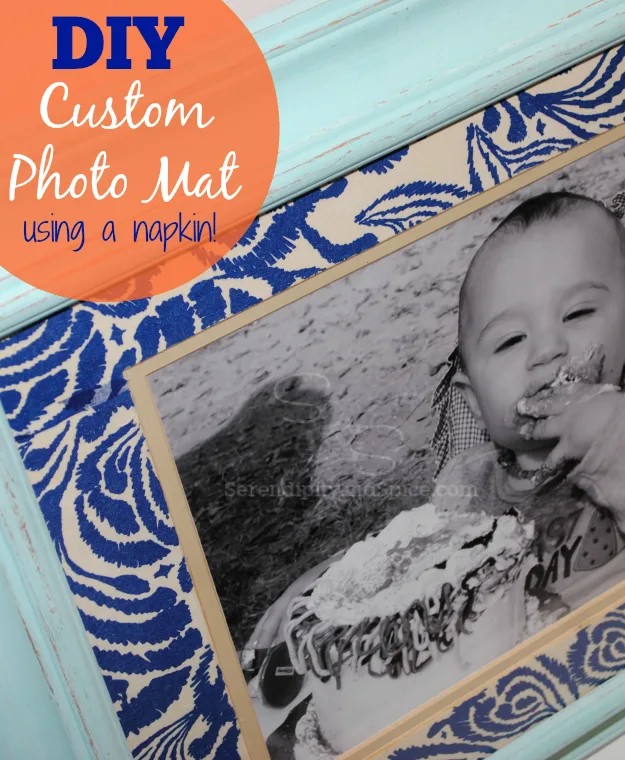

How to Make A Custom Photo Mat Using a Napkin
Okay, so you know how much I love yard sales and finding awesome deals…right?! Well I think these picture frames are my most awesome deal to date! I’m completely in LOVE with these frames! They are good old fashioned frames….the ones made with REAL wood and with REAL glass….no cheap materials in these sturdy babies! I found them at a church yard sale for $1 for all 3! Yes, only $1 for all of them…not each…I paid about .33 cents each!
Now, they looked pretty unimpressive when I found them. But the key to great finds like this is to look for quality and great bones….it doesn’t matter what they look like as far as color, dirt, grime, etc….it’s all about the bones. I knew when I saw these that they were going to need some mega TLC…they had definitely been tossed in someone’s basement for many years…if not decades! But, I knew they were a good find because they’re solid wood…these babies are HEAVY! And the glass is really glass, not some cheap plastic or plexiglass. I wasn’t sure if the mats could be saved at the time– they were quite yellow and dirty….but for $1….I had to have them!
At first I wanted to paint the mats but then decided a fun design would really make these frames pop. I started out thinking about using scrapbook paper but couldn’t get the look I wanted….I wanted the design to look like it was supposed to be part of the mat…not something I added on. Then it hit me….napkins and Modge Podge (I used matte finish)!

Directions:
1. Pick out your napkins. Make sure they’re decent quality! I found these dinner napkins in the party section at Target….and they’re PERFECT!
2. Measure your napkins and mats then cut the napkin into 4 sections…depending on the size of your mat you may need more than one napkin.
3. Remove the extra layers of napkin that are behind the design that you want. Be very careful…you want to make sure that you get down to a single ply decorative napkin– without tearing it!
4. Oops…picture 4 and 5 are reversed….you’ll want to Modge Podge your napkin to the mat. Now this takes some major TLC because you want to be careful not to over saturate the mat with Modge Podge. And once you place the napkin down you don’t want to move it again otherwise it WILL tear.
5. Next you will take an exacto knife (make sure it’s super sharp) and trim along the edge of the mat to get a finished end for your napkin. This takes some definite TLC as well– if you’re too rough you’ll wind up pulling the napkin too far and it will tear. But take small little strokes and slowly remove the excess napkin from the edge of your mat. The outer edge can just be folded under the mat and Modge Podged to lay flat.
6. Let your mat dry. Paint the frames. And enjoy your new colorful custom frames!
