You don’t have to be a gardening expert to enjoy growing your own herbs, fruits, and veggies….you just need the right tools! You also don’t have to slave away like farmers from long ago….times and products have advanced!
Today I want to share with you a FUN, EASY, and QUICK project that I’ll be enjoying all Summer long– my potted herb garden.
Who doesn’t like fresh herbs??? I love being able to walk out to our balcony and grab some fresh seasonings for some of my favorite recipes. True, you can buy them in the grocery store– but what you spend on one bunch for one meal could be spent growing your own to last all year and TONS of meals!
Making your own garden is soooooo simple these days– even simpler than when I showed you how repel bugs and pests with these plants! The Gro Project has lots of ideas and here’s some fun garden projects. Miracle-Gro is the go to product for making your garden projects easy, hassel free, and oh sooooo delish!
Okay, so I decided that I wanted to use Miracle-Gro to make a simple herb garden that doesn’t need a ton of attention but that will have herbs available when I want them. Let’s face it– with a toddler, I don’t have much time to worry about taking care of plants. That’s why I LOVE container gardening!
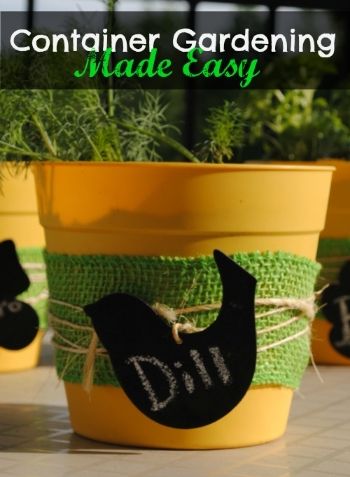
Container gardening is what it sounds like– growing fruits, veggies, and herbs in a container instead of in the ground. It’s great for when you live in an apartment or when you know you’ll be moving soon (both of which I’m dealing with right now).
So, I started off by deciding which herbs I wanted to grow and bought them along with the containers and some Miracle Gro Moisture Control Potting Mix. Now, being a crafting junkie– I couldn’t just use the pots as is– I had to spruce them up a bit. 🙂
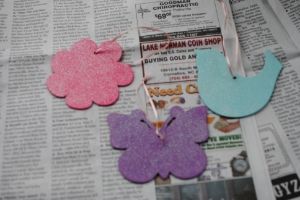
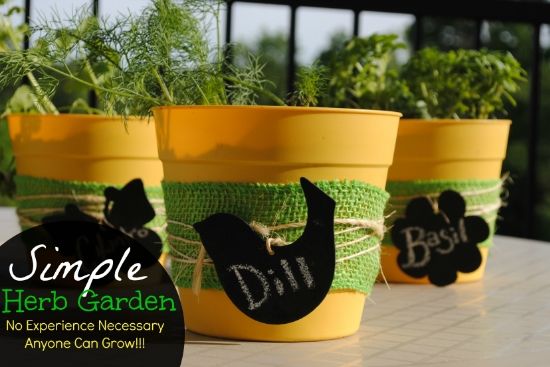
I had these cute little wooden cutouts that I bought on clearance after Easter– but pastels just aren’t my thing. So I spray painted them with chalk paint, and wrote the name of each herb in chalk on them.

Then I took some green burlap ribbon and wrapped it around the pot. Now, I could have just hot glued the ribbon but I decided to just tie it on because, well frankly, the hot glue gun was in the other room and I was too tired to go get it….yep, that’s how we do it– sometimes your favorite craft bloggers cut corners (shock and horror).
Next I needed to decide how to attach the tags– so I remember which herbs are which (I’m not sure how salsa would taste with dill instead of cilantro…although…..nope, stay focused Melissa!). Okay, staying on track…. I found some twine that I used for my DIY beach inspired vasesand cut off about 4-5 feet for each pot and slid the tag on about half way. Then I wrapped the twine around the pot several times (very tightly) and tied it off.
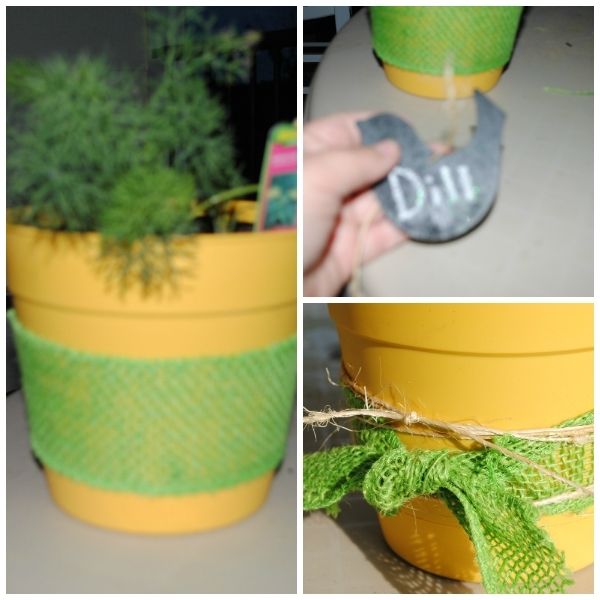
(And this is what happens when you take photos in bad lighting! But, I’m on a deadline here so it will have to do…sorry!)
Now for the actual planting….this is the easy part!
I filled the pot half way with the Moisture Control Potting Mix (now there is a difference between potting mix and garden soil– make sure you get potting mix when container planting–it has more nutrients). Then I cut off the plastic wrapper around the herbs. Now, these pots are meant to biodegrade and can be planted with your herbs in the pot…..as you can see they were already falling apart. So I just crushed them up and placed my plants down in the pot.
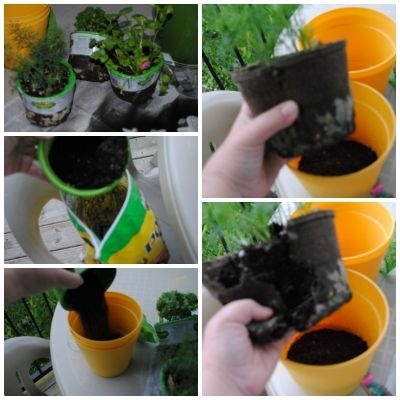
I used more potting mix to finish filling up my pots. Now, your plants will look a bit limp right after transferring to a new pot but don’t worry– they will perk up in a day or so.
And that’s it. Put your herbs somewhere sunny and water them regularly– whenever the top of the soil is dry you should add some water.
Here’s a quick video about the Gro Project– watch it!
Now, you can enjoy fresh herbs anytime…..even if you’re not an experienced gardener. And I must add that these seem to taste so much better– maybe it’s the satisfaction of knowing I grew them myself!
Follow Miracle Gro on Pinterest and find fun garden projects!
While you’re here make sure you go check out the 8 Plants that Repel Bugs and Pests!
